Houseplant Care
Monstera Care: What Kind of Soil and Pot Do I Need?

Monstera Leaves
The Monstera deliciosa houseplant is an allegory for life. While they have many missing pieces with the fenestration and pinnation of their leaves, it is the remaining leaf around them that makes it all worthwhile. As with all life, the right accommodation helps them thrive. In this article, we are going to go over how to address your Monstera’s potting needs.
We will also include a video from our sponsored care series featuring Ashley Anita for those who would rather watch a tutorial vs read one!
When to Repot a Monstera
Monstera are not unlike children in how and when they grow, as most of their growth is in spurts early in life. When Monstera are young, they often find themselves in need of a change of shoes. As they get older and their pot gets bigger, their growth slows down and they can be content with their adult pot for years. Here are some easy guidelines for deciding when is a good time to get your Monstera new shoes!
- Needs better drainage and ventilation. If your Monstera is still in the plain mass-market cheapie pot they were rescued in, it may have incomplete drainage and, more-often-than not, no side ventilation. The resulting stagnating pool of water on the bottom is a recipe for root-rot. To tackle the dastardly scourge of root-rot, we made the rePotme Slot Pot which offers complete drainage in the bottom and thorough ventilation around the sides to keep your Monstera breathing and living their best life!
- Outgrown their container. When your young Monstera goes through a growth spurt and it’s time for new shoes and it’s time for a larger pot with a fresh fill of fertilized soil, a good indicator of having outgrown their pot is the emergence of roots from the top or bottom.
- Soil is stale. As your Monstera gets older and their growth begins to slow down a bit, the time to change their socks may come before they are due for a larger pot. If half of a year has passed, the soil will start to become less hospitable to your plant as it runs out of good stuff and accumulates too much bad stuff. To give your Monstera a nutritious new fill of soil, we fresh-mix-to-order our Monstera Imperial Potting Mix!
- Accidental fertilizer burn. If your Monstera’s leaves, especially the inner and outer edges, start to look a little crispy (burnt, dark, or discolored) after fertilizing, they could be experiencing fertilizer burn from exposure to too high a gradient of reactive ions. When this happens, the soil needs to be changed and after your plant heals, a smaller amount of fertilizer should be used after that point. Our FEED ME! Houseplant Food has easy-to-follow instructions to dose just the right amount.
How to Repot a Monstera
- Turn your Monstera on its side. The first step is to lay out a clean, soft cotton sheet. Cotton is important when handling or cleaning a plant as it isn’t abrasive to the leaves, especially leaves with a lot of delicate edges like fenestrated Monstera leaves and pinnated Horsehead Philo leaves. Place your catching container in front of the cotton sheet and gently turn your Monstera onto their side with the leaves on the cotton sheet and the pot and soil in the catching container.
- Carefully slide off the old pot. With gentle, even pulling, the old pot should slip off and expose the roots.
- Out with the old. With clean hands, gently manipulate the roots to allow the old soil to fall out. Old soil can become toxic to a plant if it remains for too long.
- Introduce your Monstera to its new home. The new pot needs to be larger than the bulk of the roots, but not more than a few inches. If moist soil sits for too long without roots to drink it, harmful microbes may grow in it before the roots have a time to get there. With your Monstera’s new pot in position, carefully lift them into it.
- In with the new mix. With your Monstera relieved of old soil and positioned in their new home, carefully pour in their new soil, such as our Monstera Imperial Potting Mix.
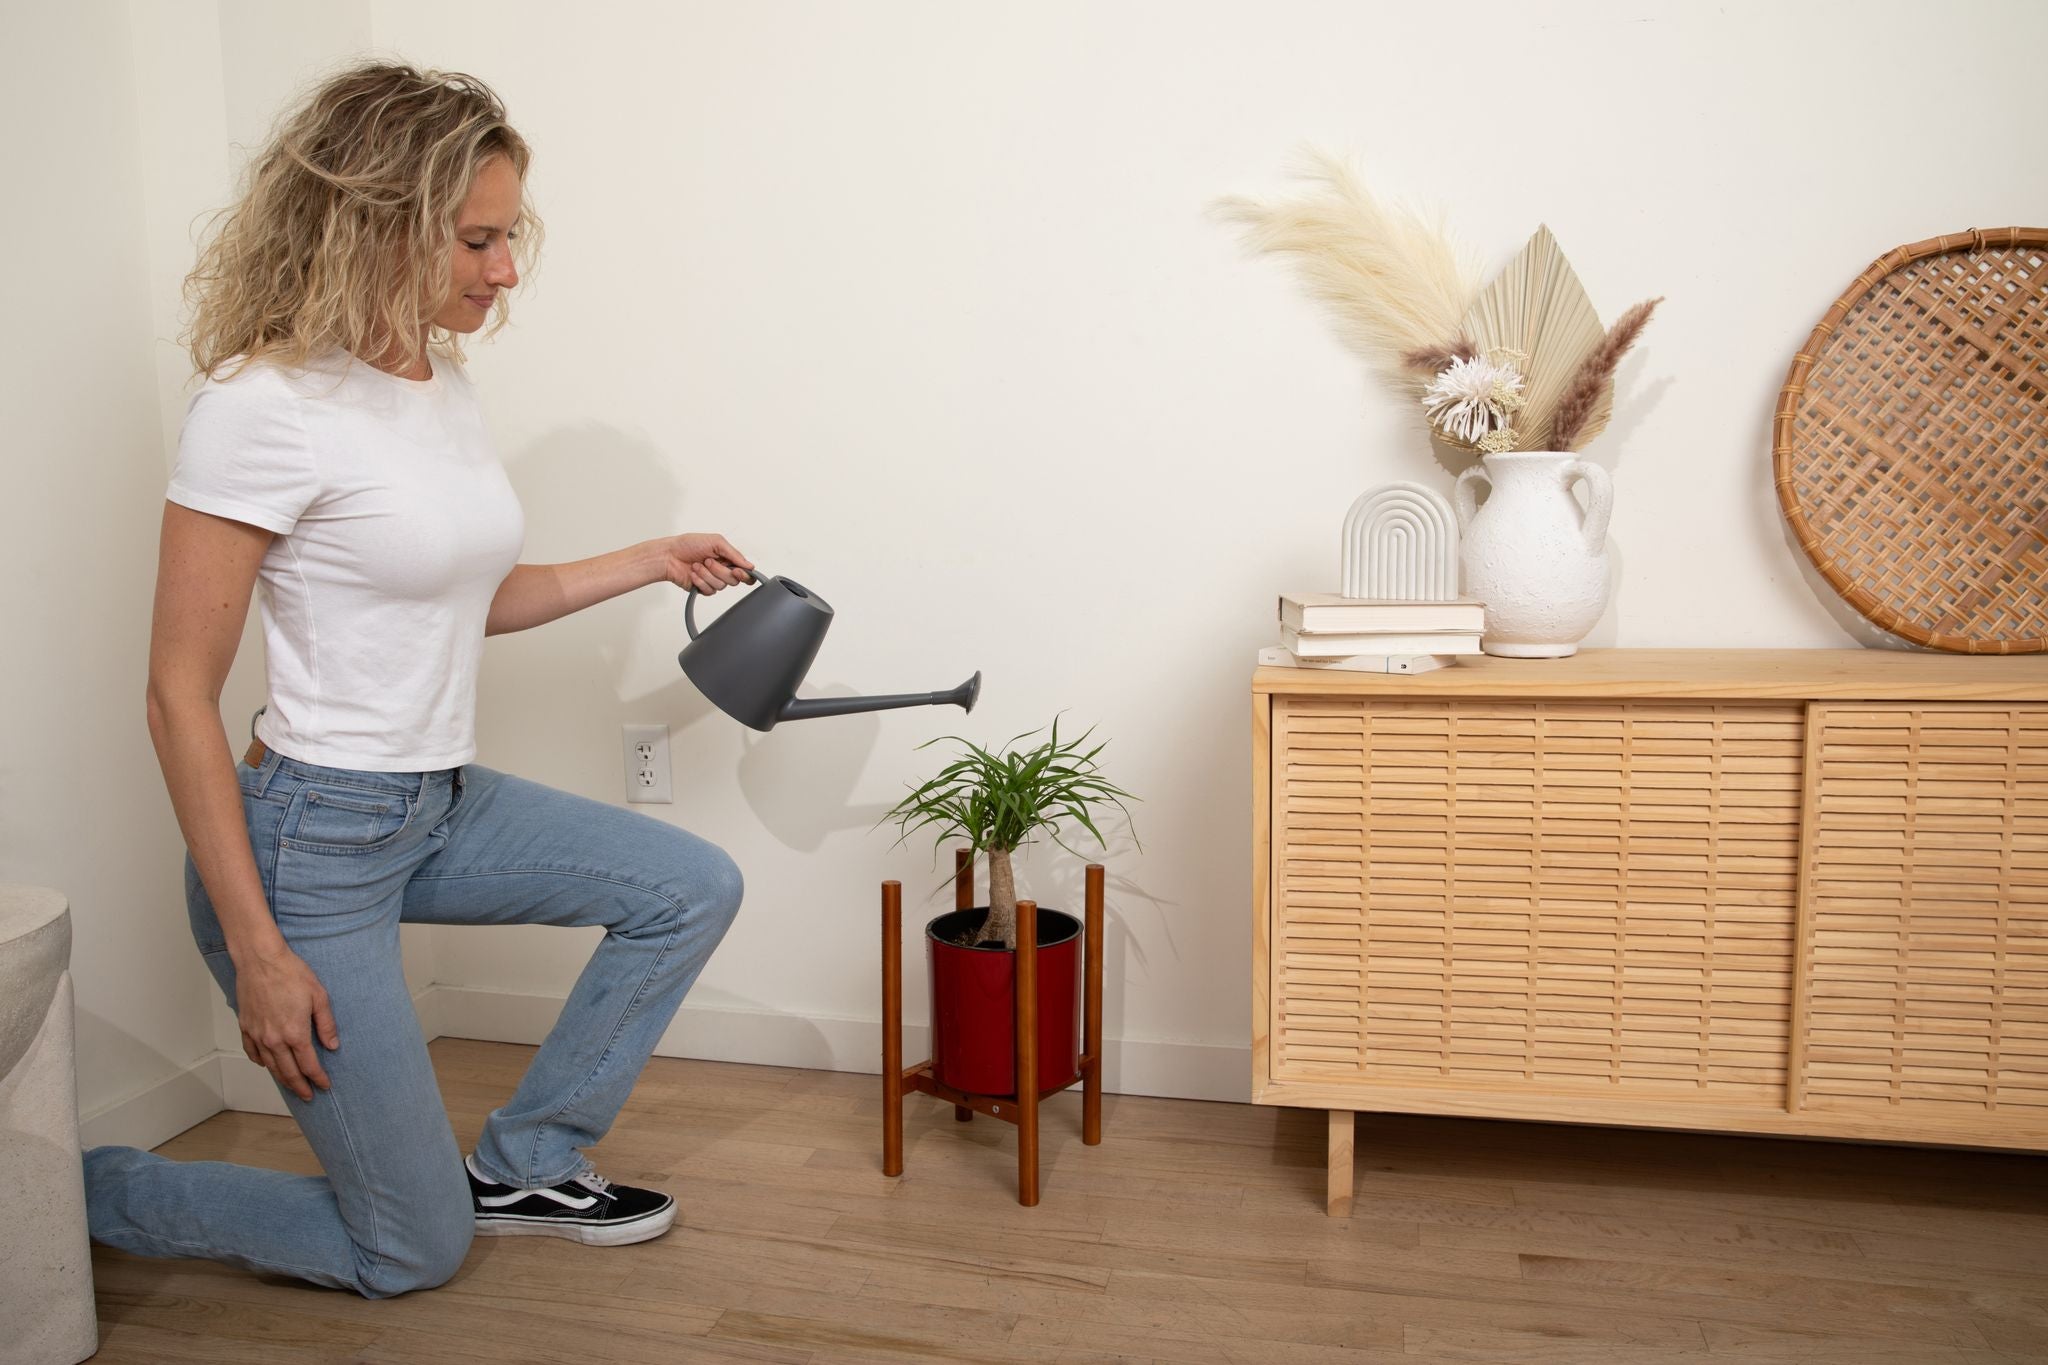
- Great job! Watering and feeding can continue as they used to. To help with watering, we carry watering cans in plastic with removable rose-head and in stainless steel with spout. To help with feeding, we carry our FEED ME! Houseplant Food.
Looking for a Video Tutorial?
Check out our sponsored YouTube series Houseplant Care 101 with Ashley Anita!

